One of the simplest way to add a little spark to a photograph that is highly popular is the use of selective color in a black and white photograph. You may have seen it on wedding pictures where the bouquet of flowers held by the bride is the only object colored in the image.
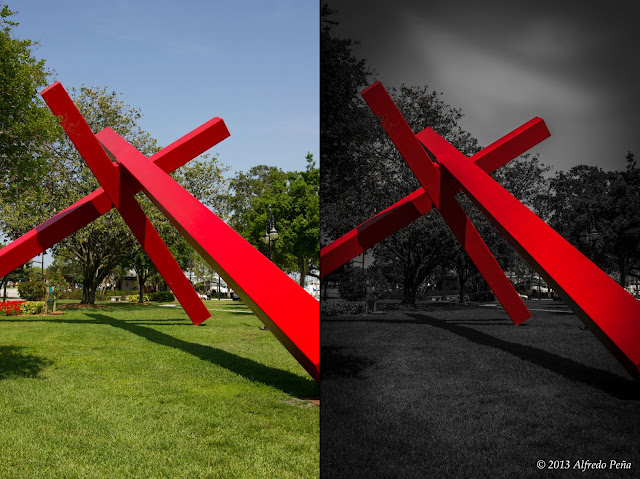
While there are countless of ways to achieve this type of effect, for this entry I will show you a quick and easy way to do it using Adobe Lightroom 4. The picture below shows the before and after the technique has been used and it only took a few minutes to achieve. The original image was shot at 28mm, 1/200 sec, F/8.0 and ISO 100. I took this photograph while sightseeing in downtown St. Petersburg, Florida.
Lets get started..
 |
| Before and after pictures of selective color example |
STEP 1: Lower Exposure Value
Open the image in Lightroom and under the Develop module select the Basic tab and lower the exposure to -2.0. I find that lowering the exposure for black and white images brings out drama in the photographs.
STEP 2: Add Vignetting
Vignetting is found in the Lens Correction tab. Adding vignetting will lead your viewers eyes to the center of the picture because it is lighter in the center. I set mine to -33 for this photograph.
STEP 3: Change Saturation Levels
Select the HSL / Color / B&W tab. From there select Saturation. With the sliders you can adjust your image to display only the color you want. In this case I left the Red and Orange sliders alone, since those are the colors used in the beams, and the ones for Yellow, Green, Aqua, Blue, Purple and Magenta I set to -100. After this step you are about 90% done. As you can see in the picture below there is red and orange colors in nearby bushes that I still had to remove.
STEP 4: Use Adjustment Brush for Corrections
For removing the color in the bushes I used an adjustment brush. Select the Effect desired to be Saturation and set that to -100. Brush over the areas that contain colors that you do not want to show. If you make a mistake, select the eraser mode and brush over the area.
STEP 5: Use Adjustment Brush for Dogging and Burning
From the early days of photography dogging and burning has been used to add accent and adding pop to black and white images. Dogging and burning simply mean adding highlights and shadows to your pictures. In this case I added a little effect on the sky by setting an exposure of +.50 to an adjustment brush and making lines across the sky several times. Less noticeable, there is also some effects being applied to the grass in some areas and some of the trees.
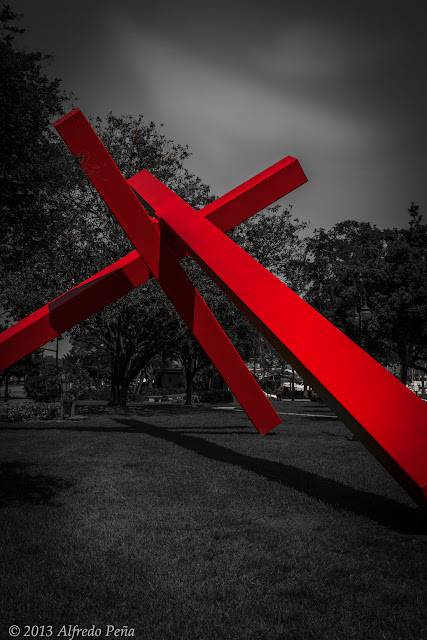
For taste, I cropped my picture into a square using a crop of 1:1. Here is the final image below.


I heard this is the new "in thing" in photography haha. Well written and easy to understand and a great example picture, shows variations of shading and emotion.
ReplyDelete